A tool for drawing Perlin Noise waves on figures' perimeter
Perlin Noise is an algorithm most known for procedural content generation. It may be use in any amount of dimensions. In 2-D it’s often used to generate waves, fire, smoke and others alike.
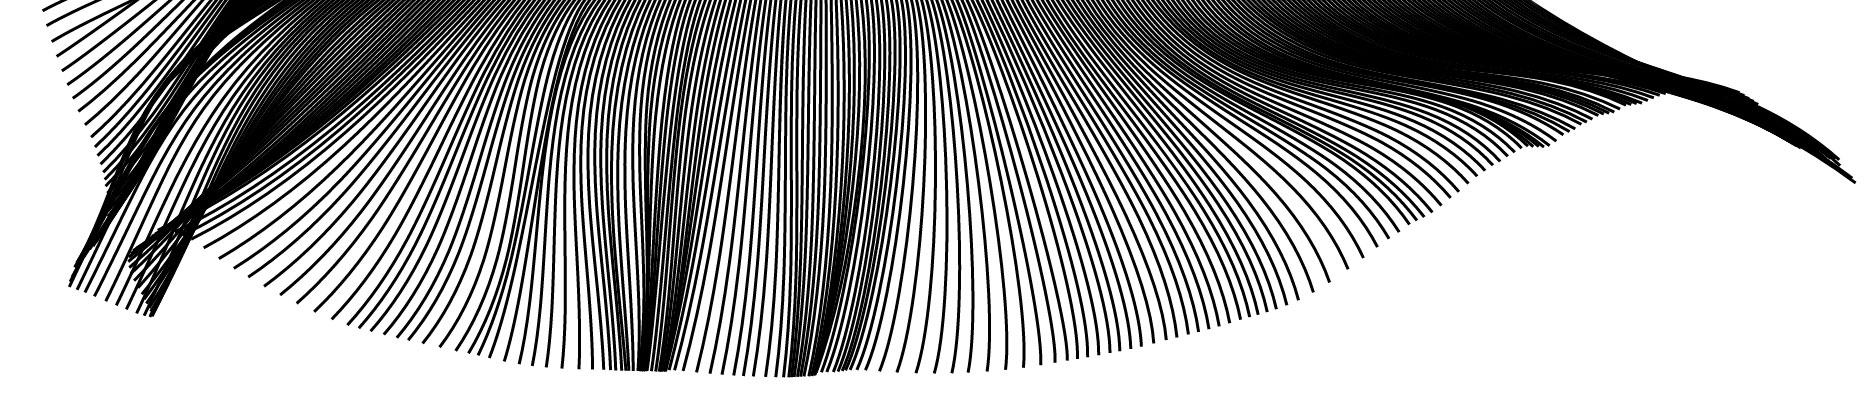
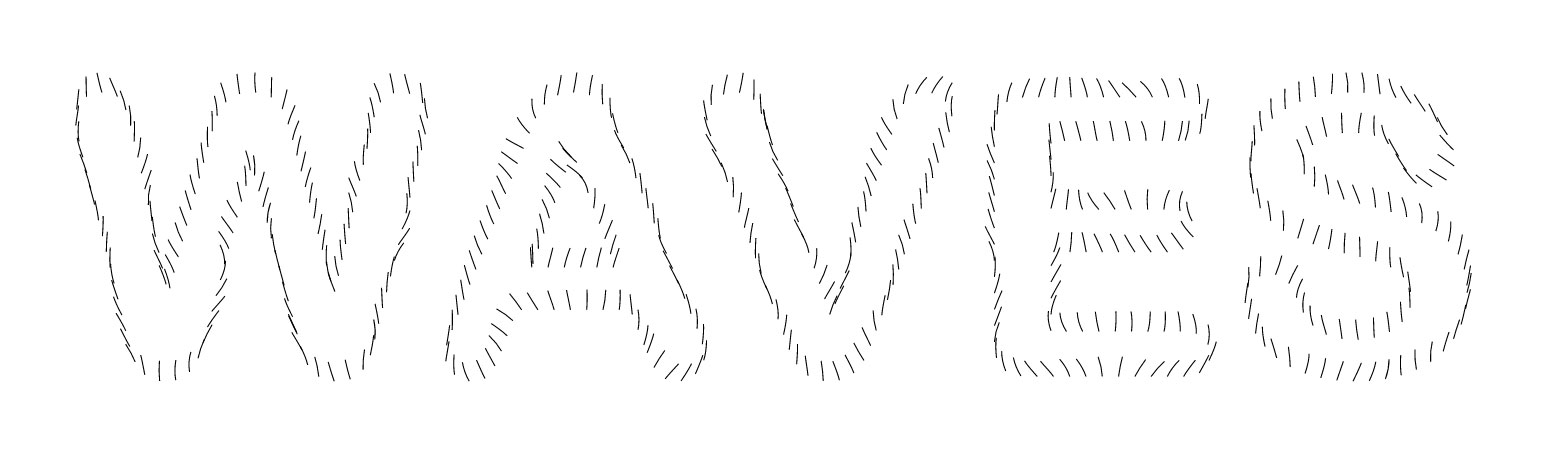
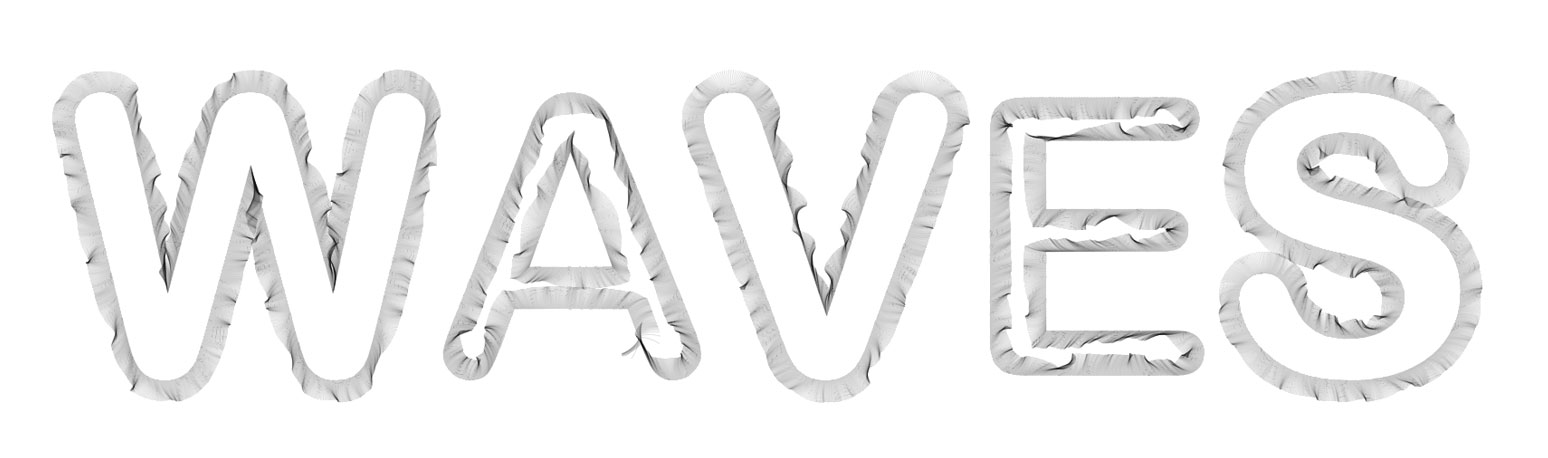
In following example we’re drawing waves that follow a Perlin Noise matrix. All these lines have equal length and they start on a line. By making each line thin and close to each other - it looks like a part of a feather.
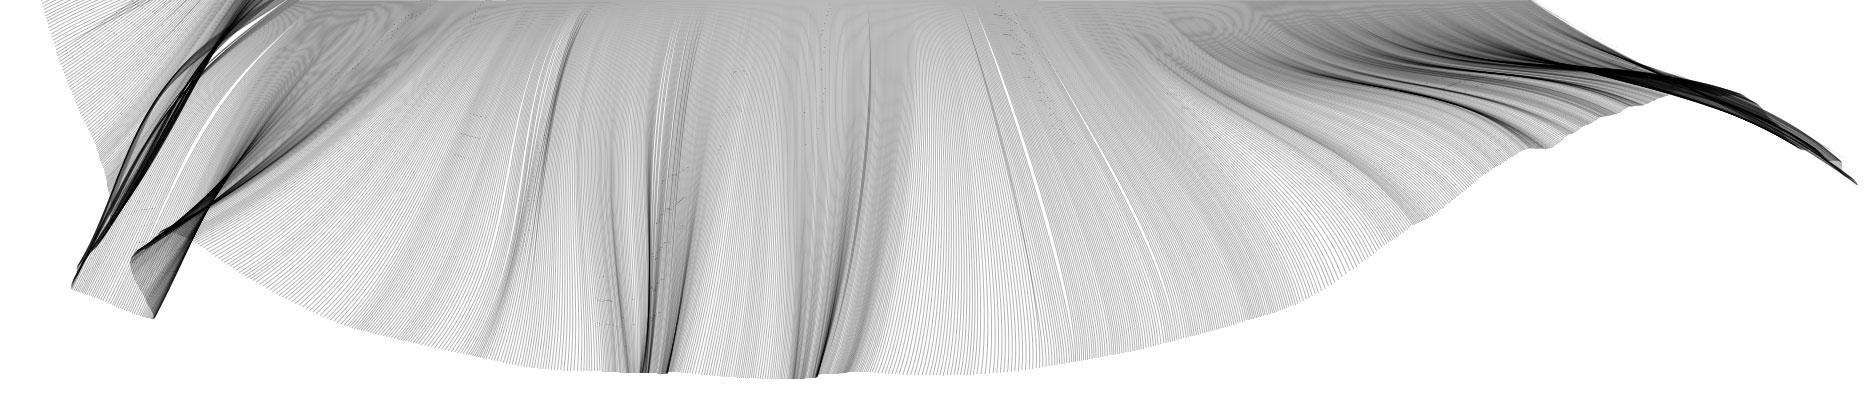
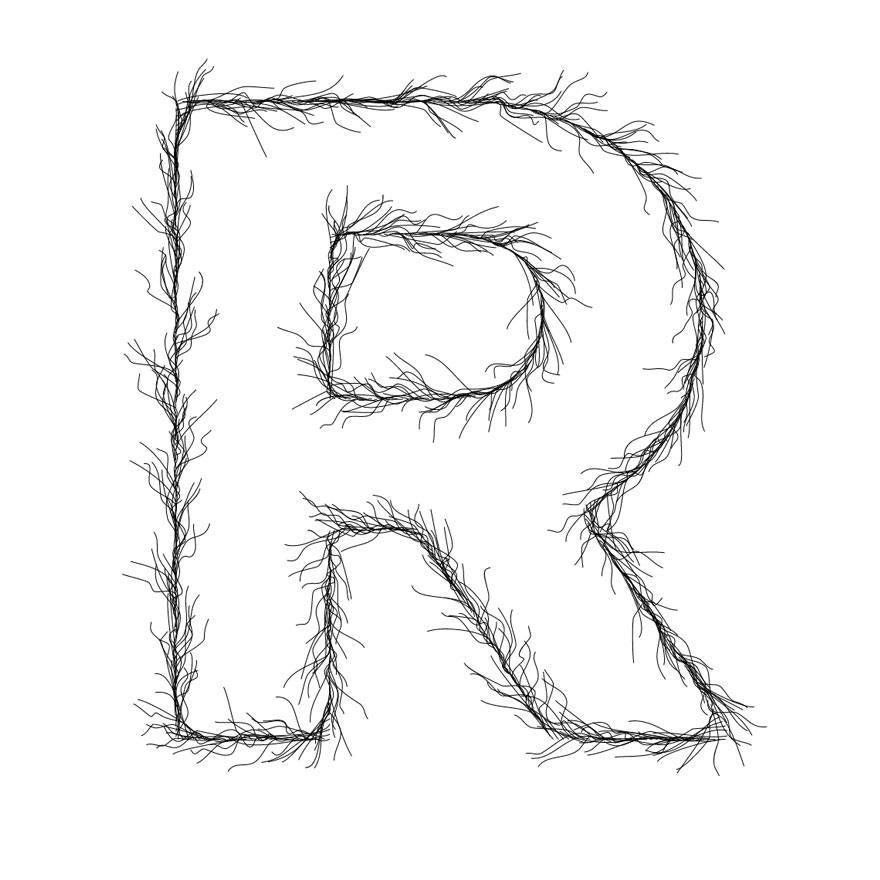
Here’s the same setup with thiker and sparser lines.
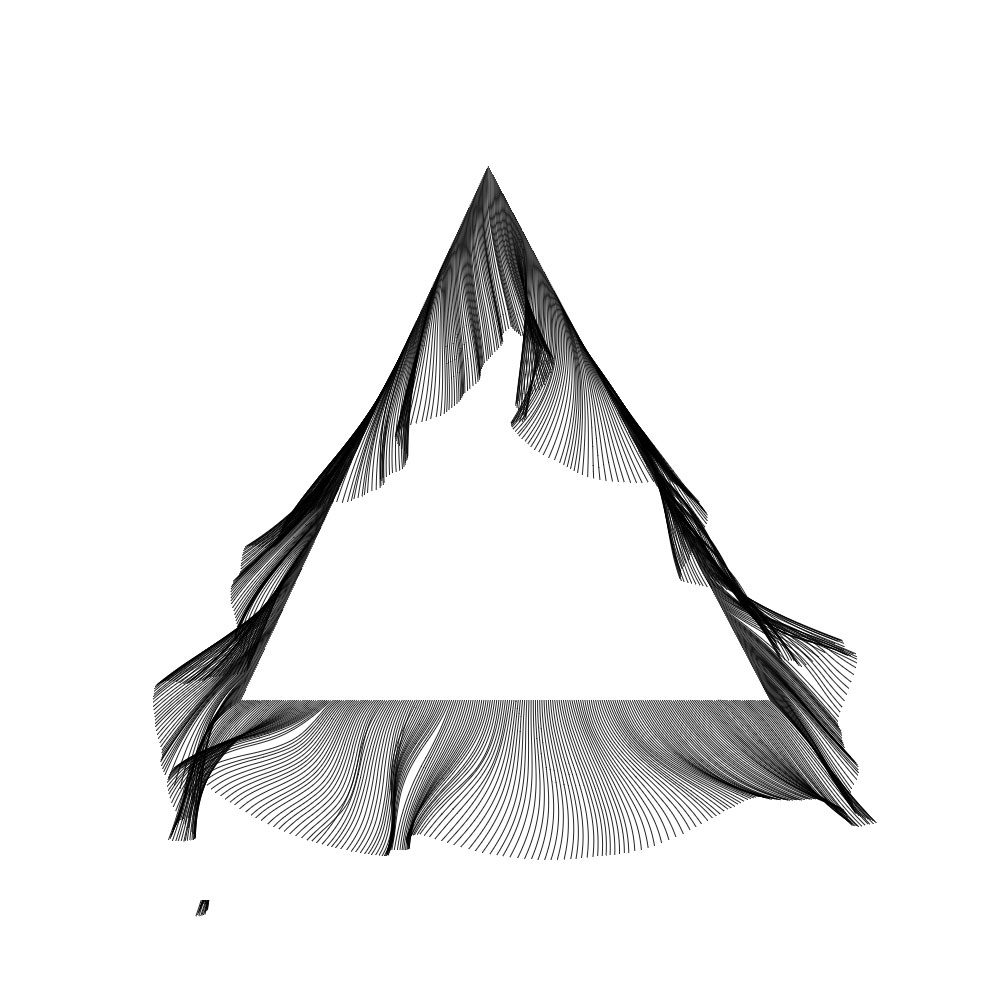
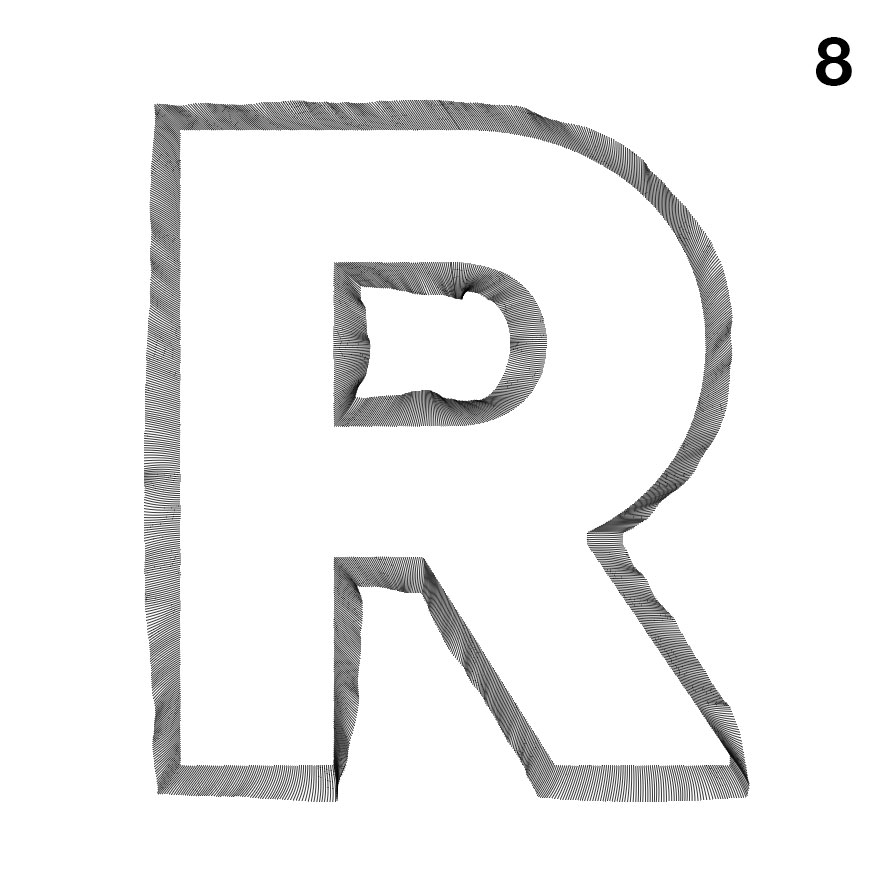
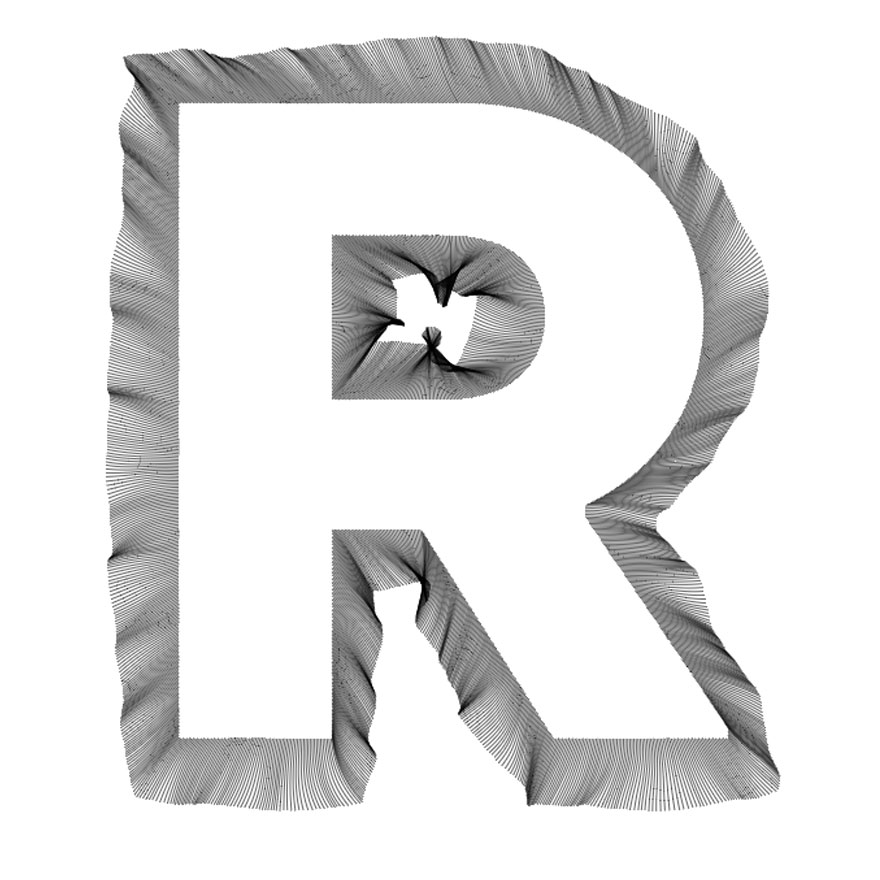
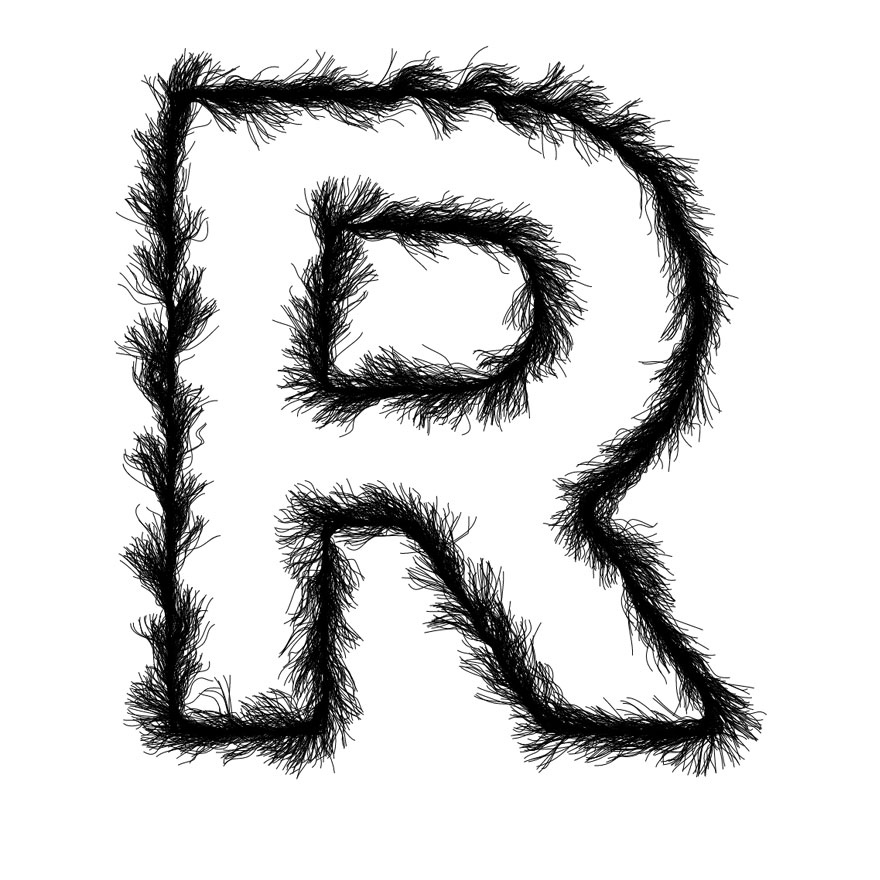
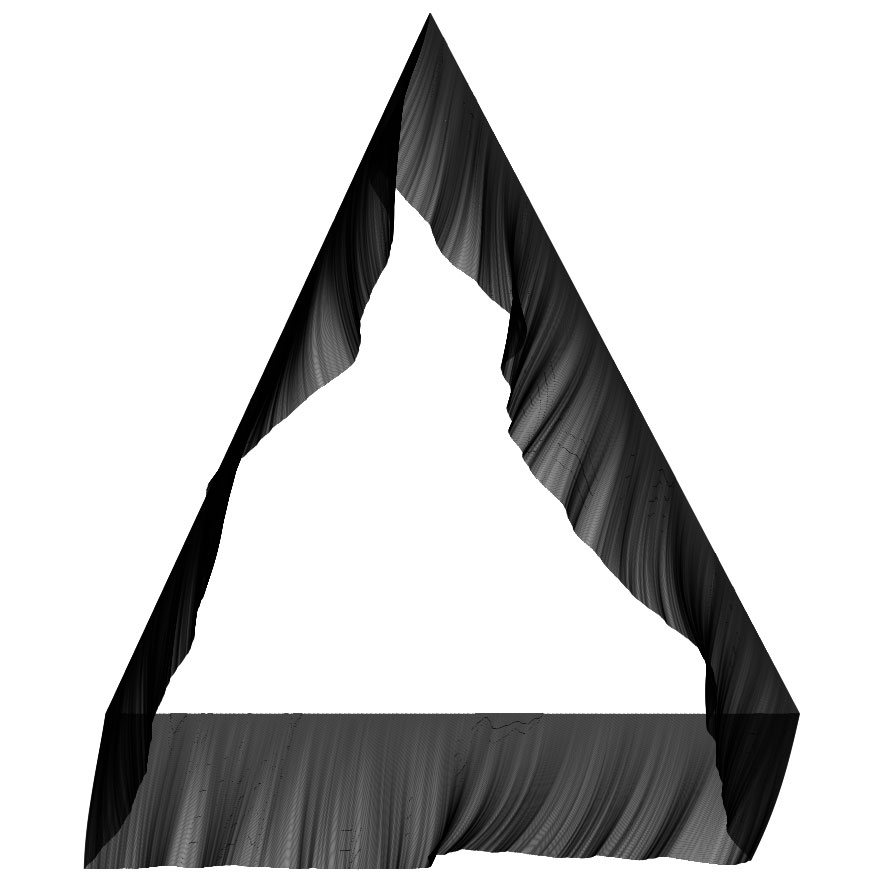
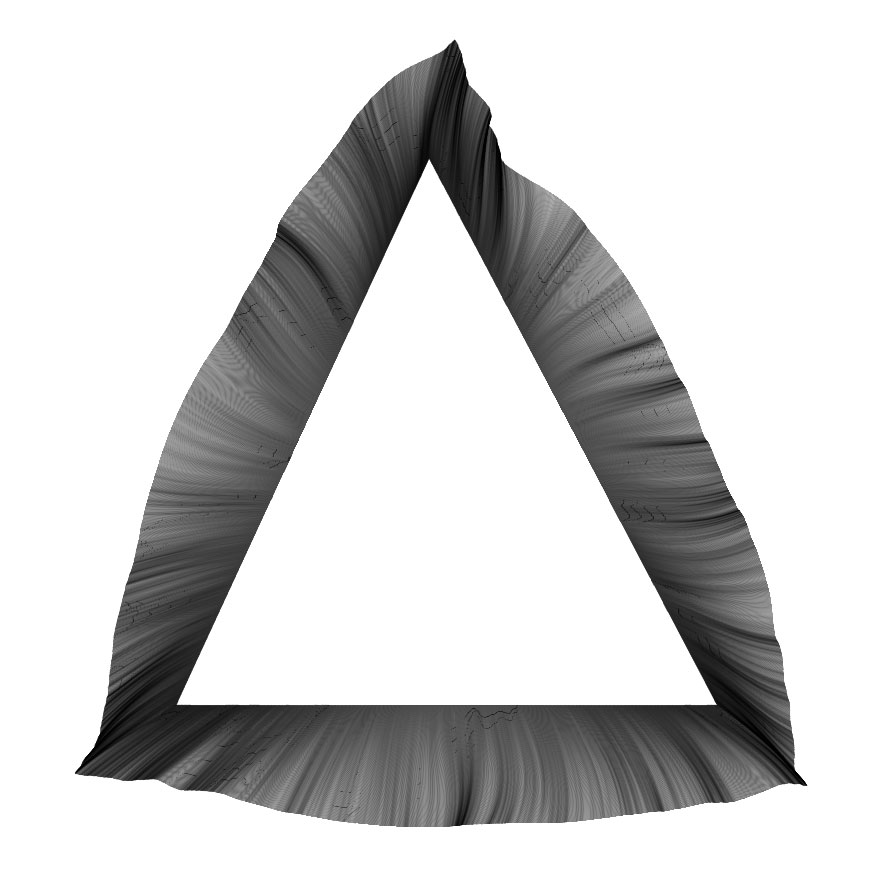
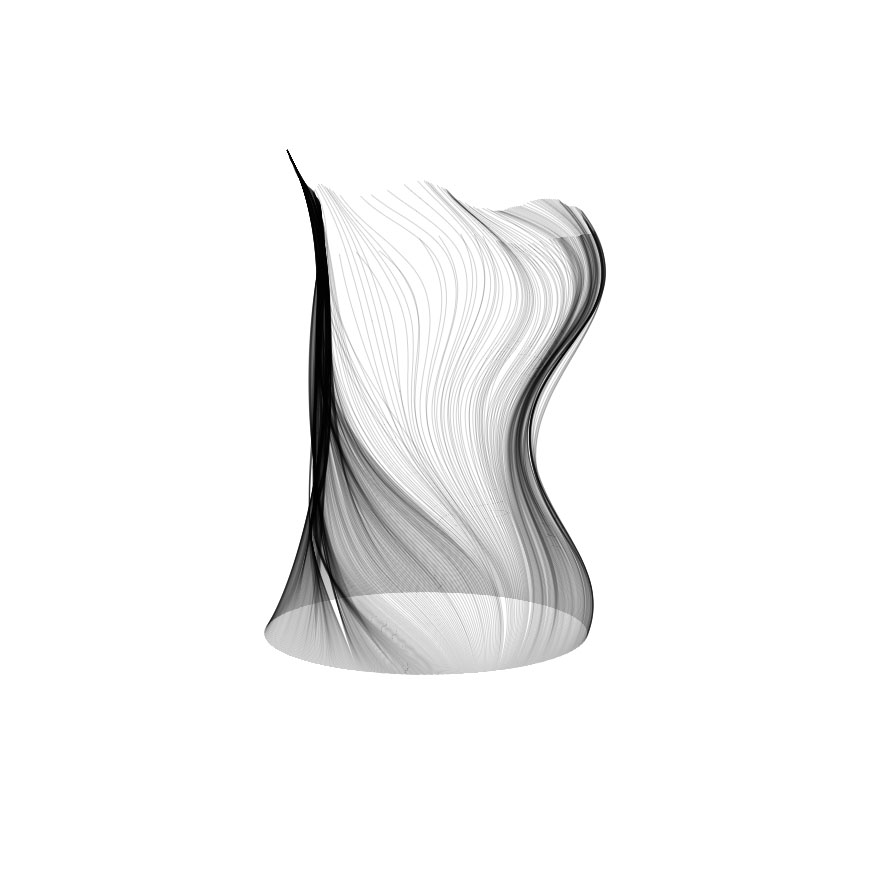
We can apply the same principle to draw Perlin Noise waves that start on the perimeter of a figure:
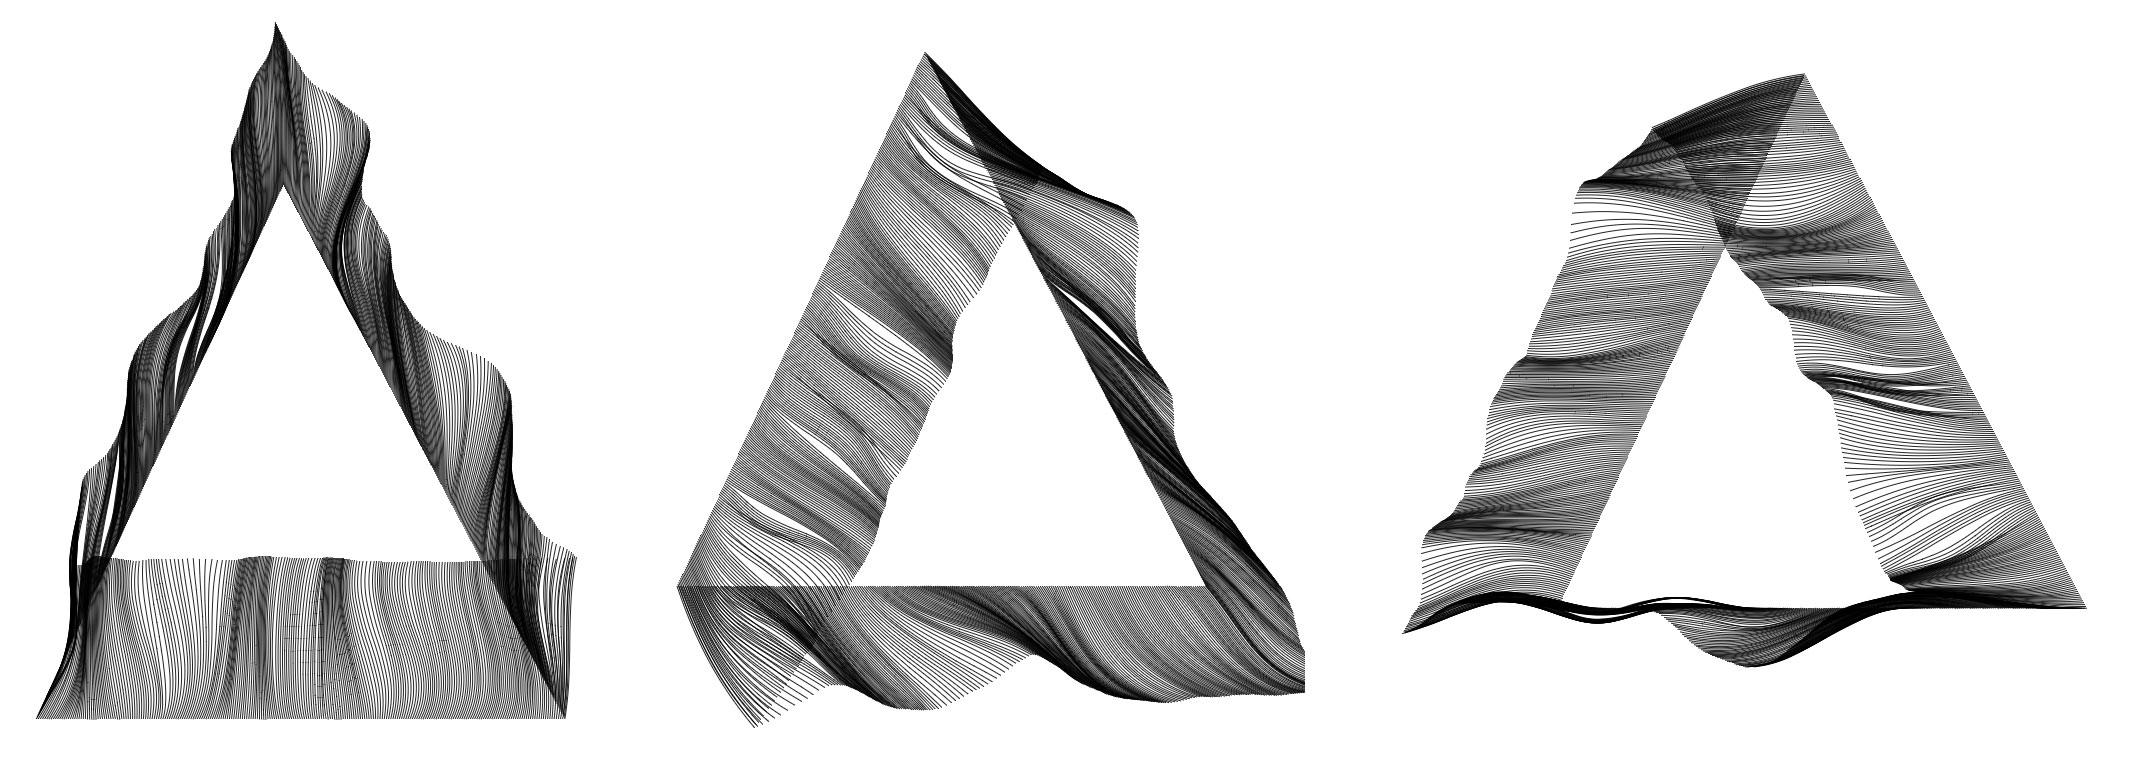
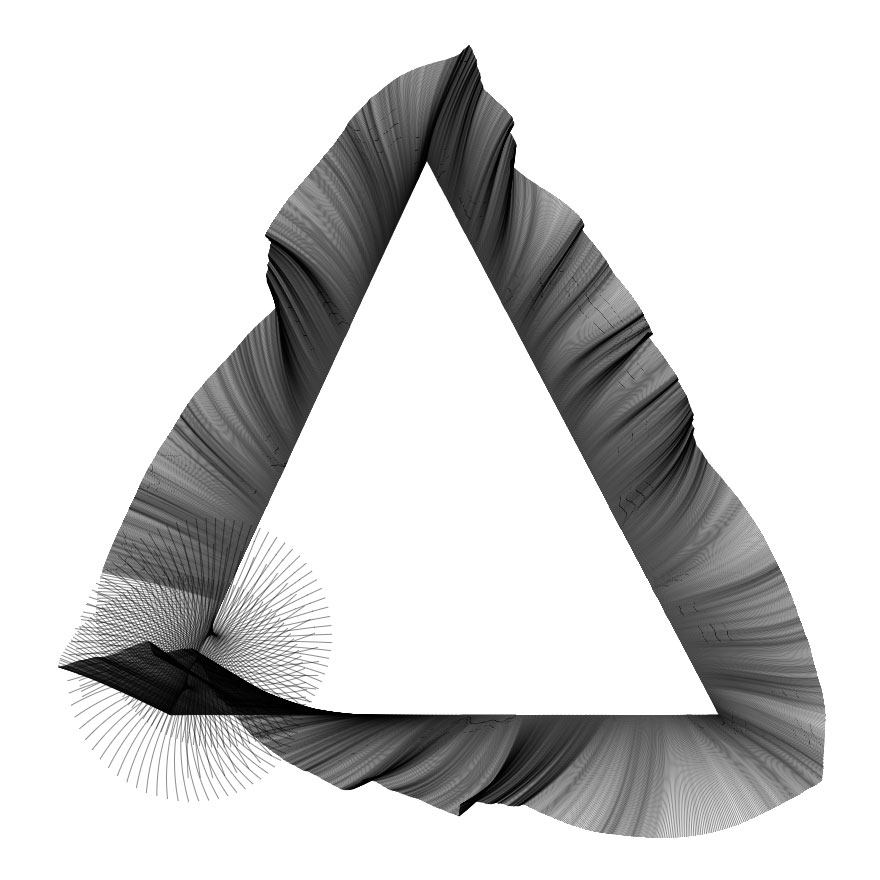
You can see that that’s the same triangle shape. The only difference between them is waves direction.
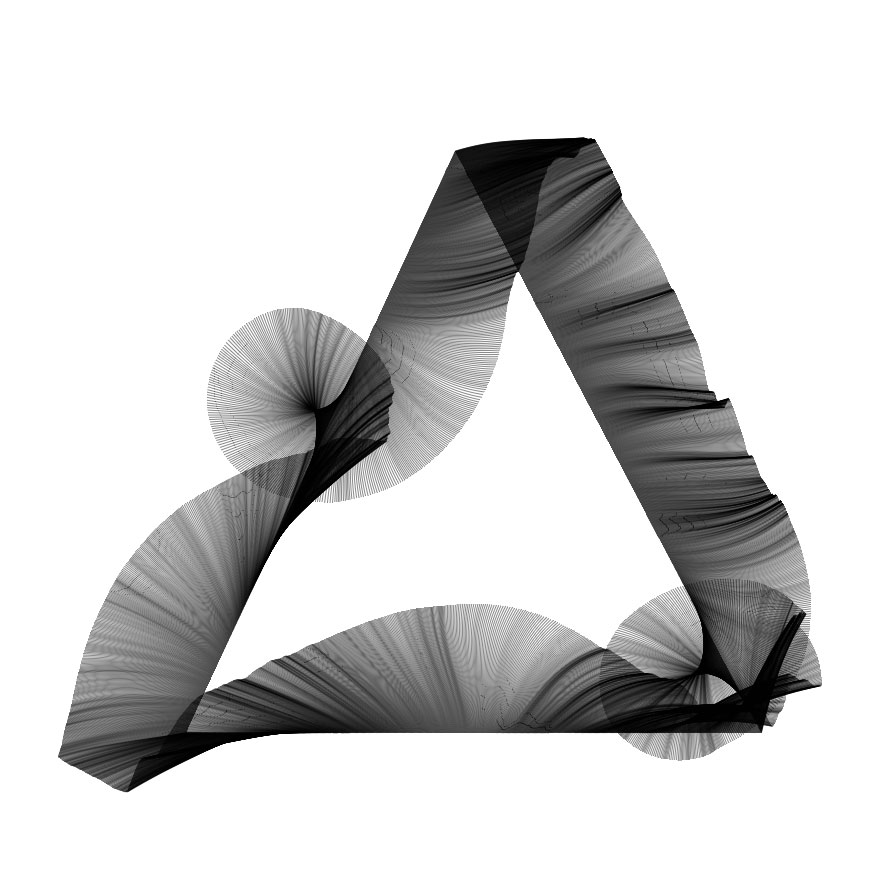
What if we could control waves direction per separate segment?
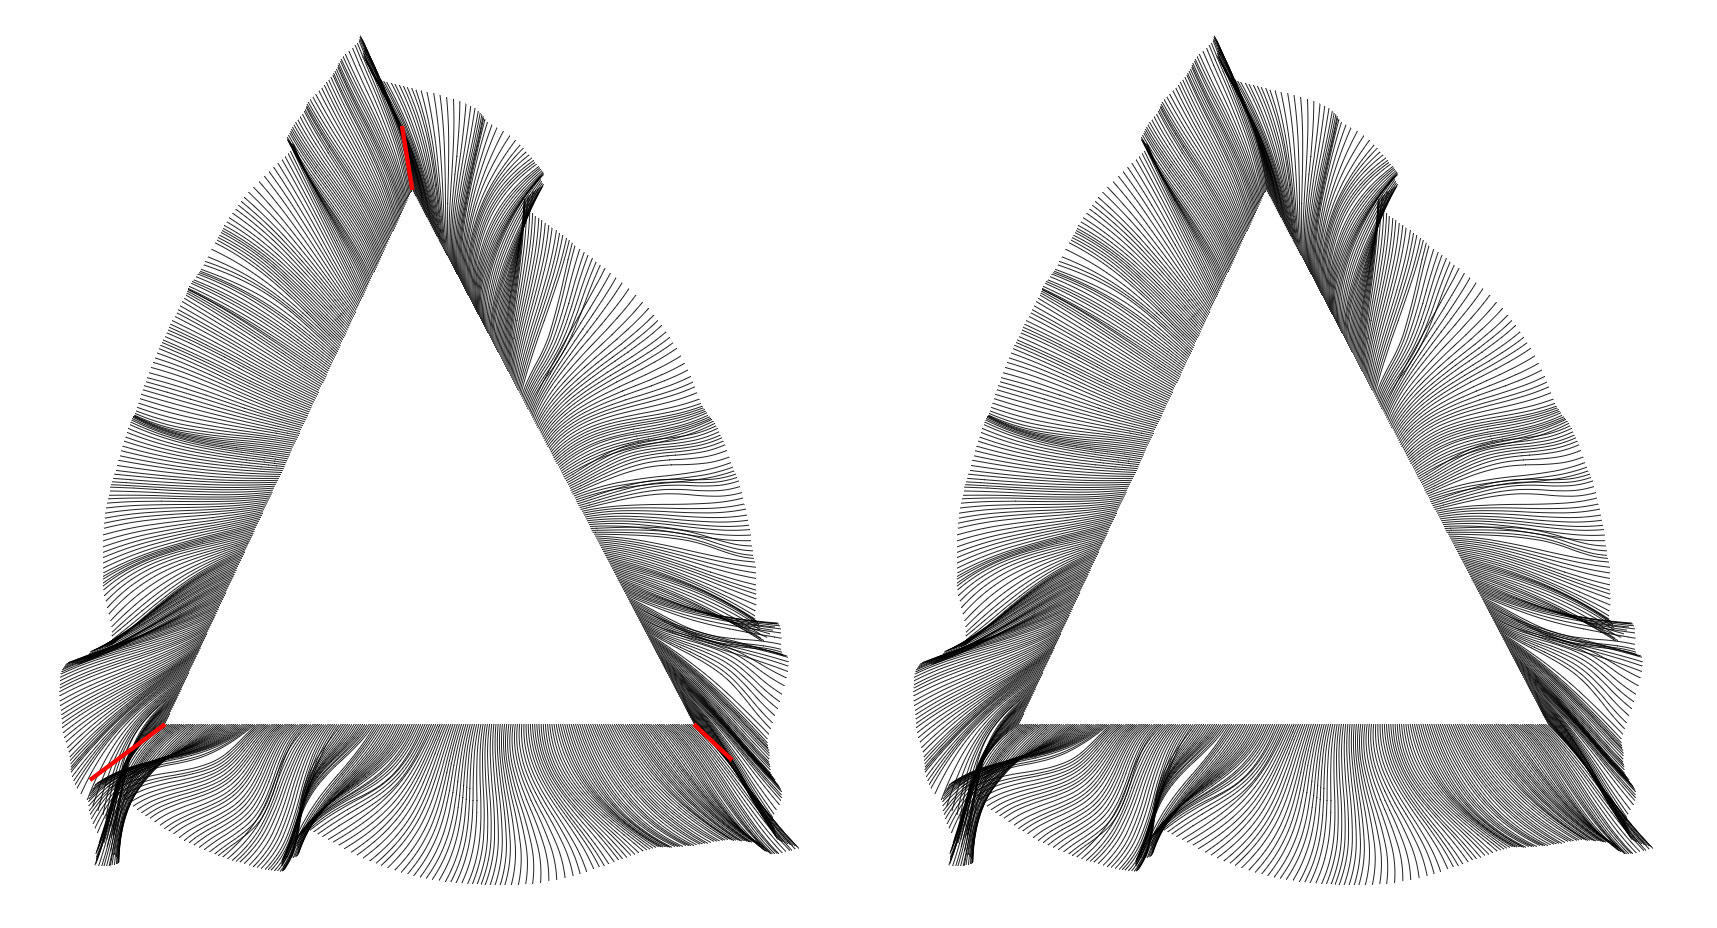
Now that looks more like a triangle! On the left side you can see the handles that dictate the direction. In fact we can place those handles anywhere:
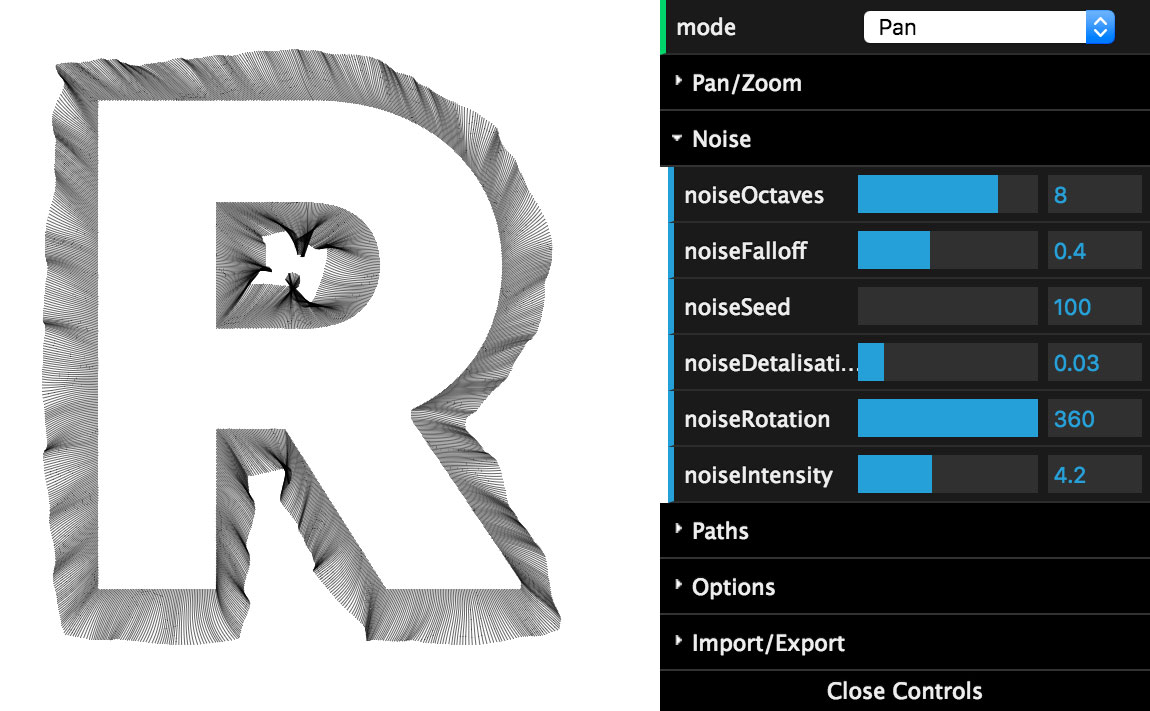
Now let’s look at some options available in the tool.
Path options
Path options control the length, width, thickness and detalisation of lines.
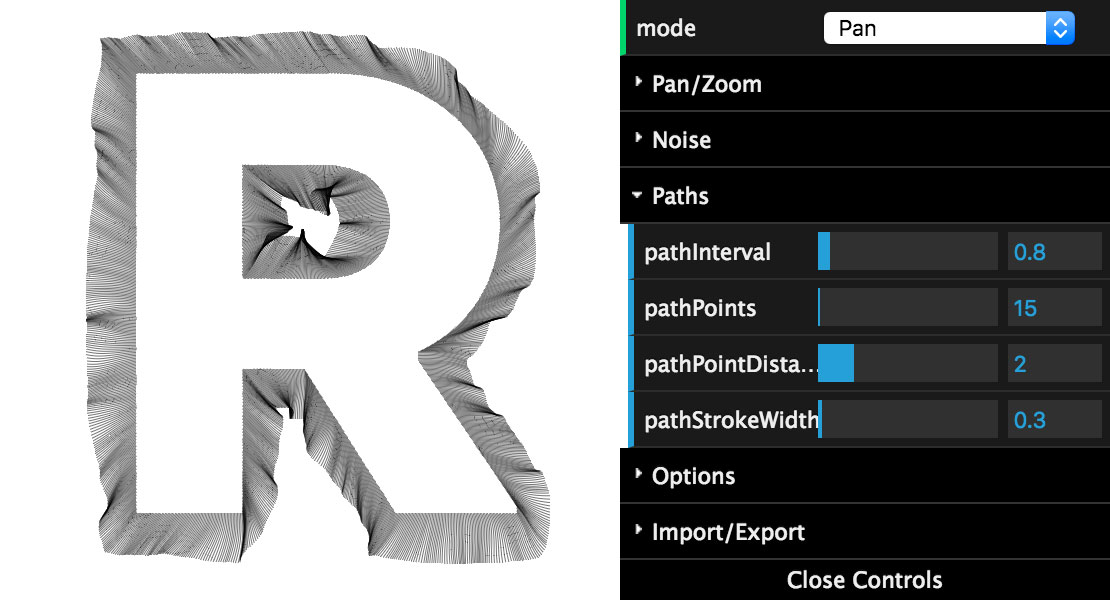
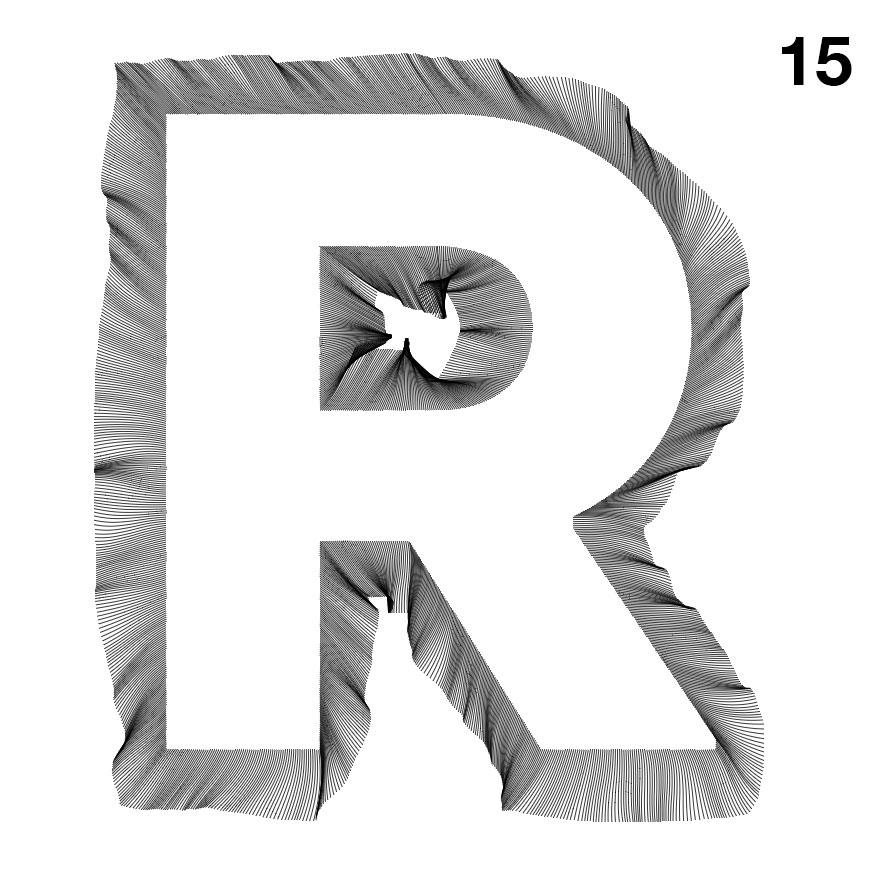
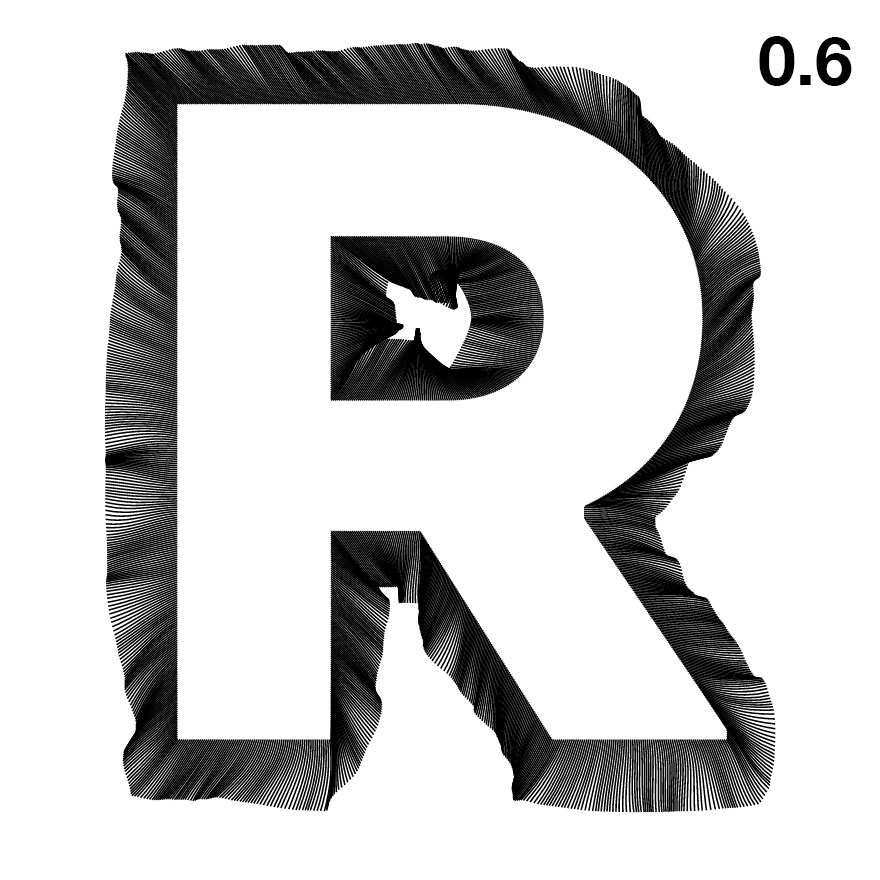
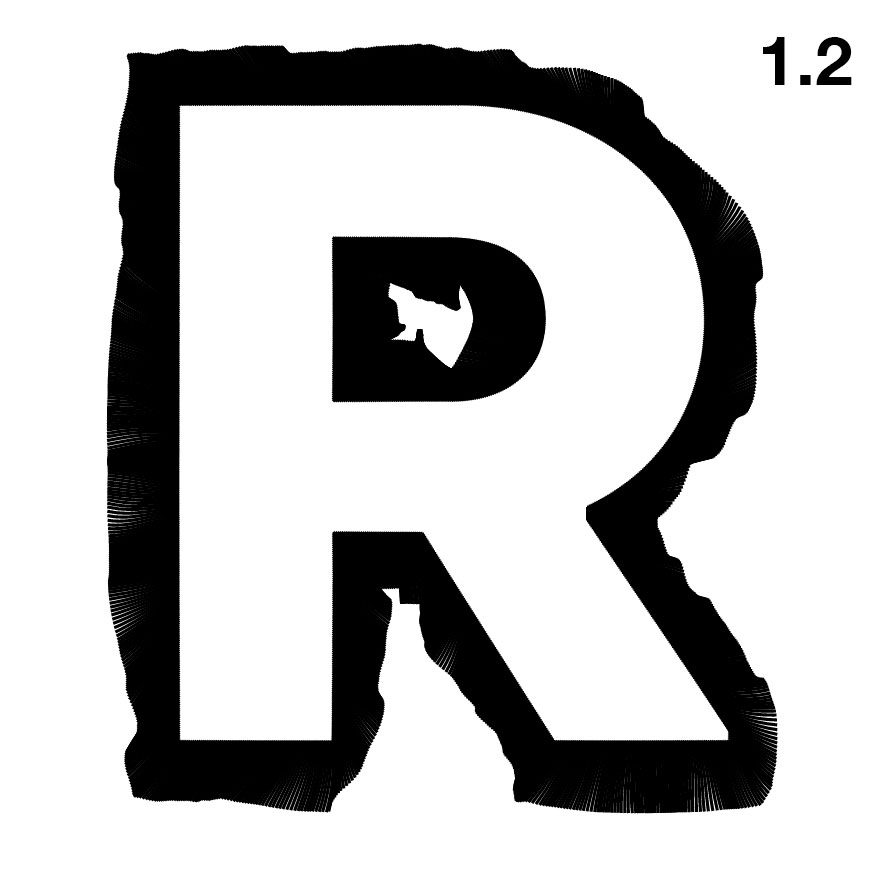
Path Interval
Path interval defines the distance between each line and respectively their number.
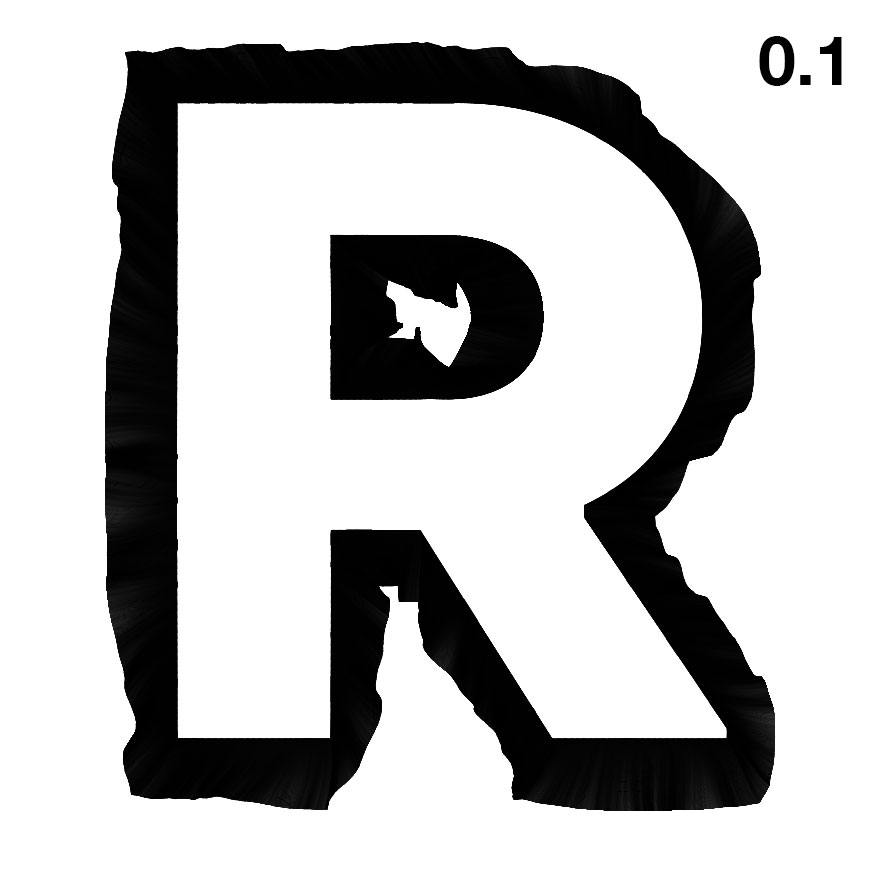
The distance is calculated between each consecutive line middle point. So line thickness is not taken into account.
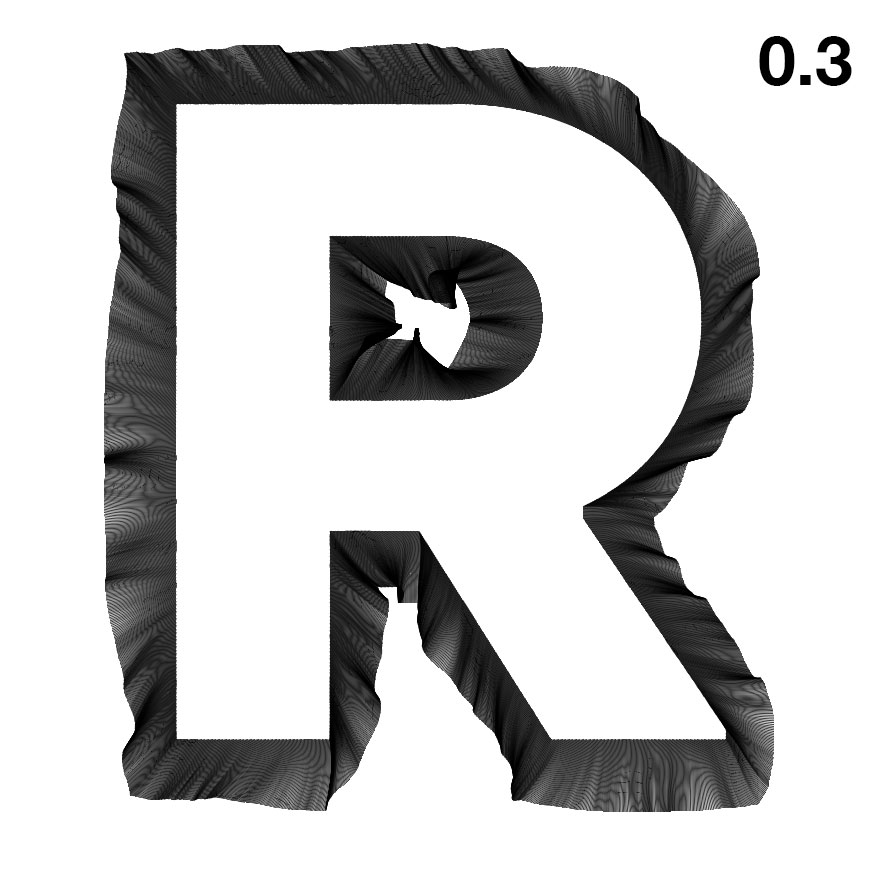
That’s why in the first example where we set the interval to 0.1 - it looks like a bold outline.
Setting a large number maybe useful for fast testing (when you get many lines it may become slow to render).


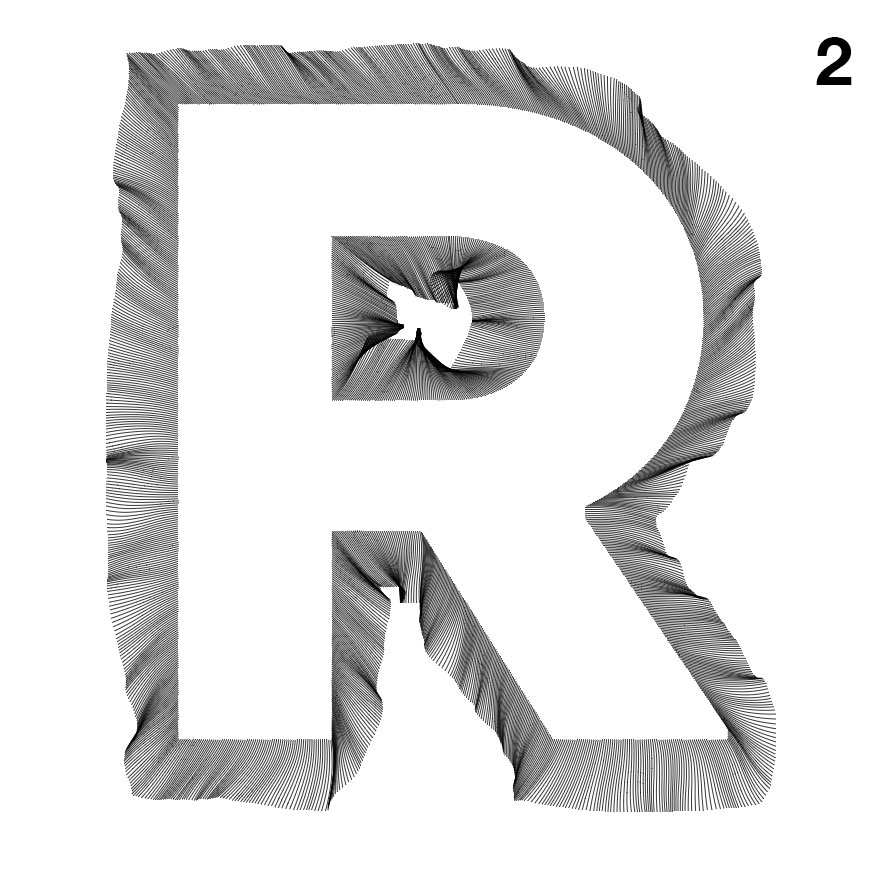
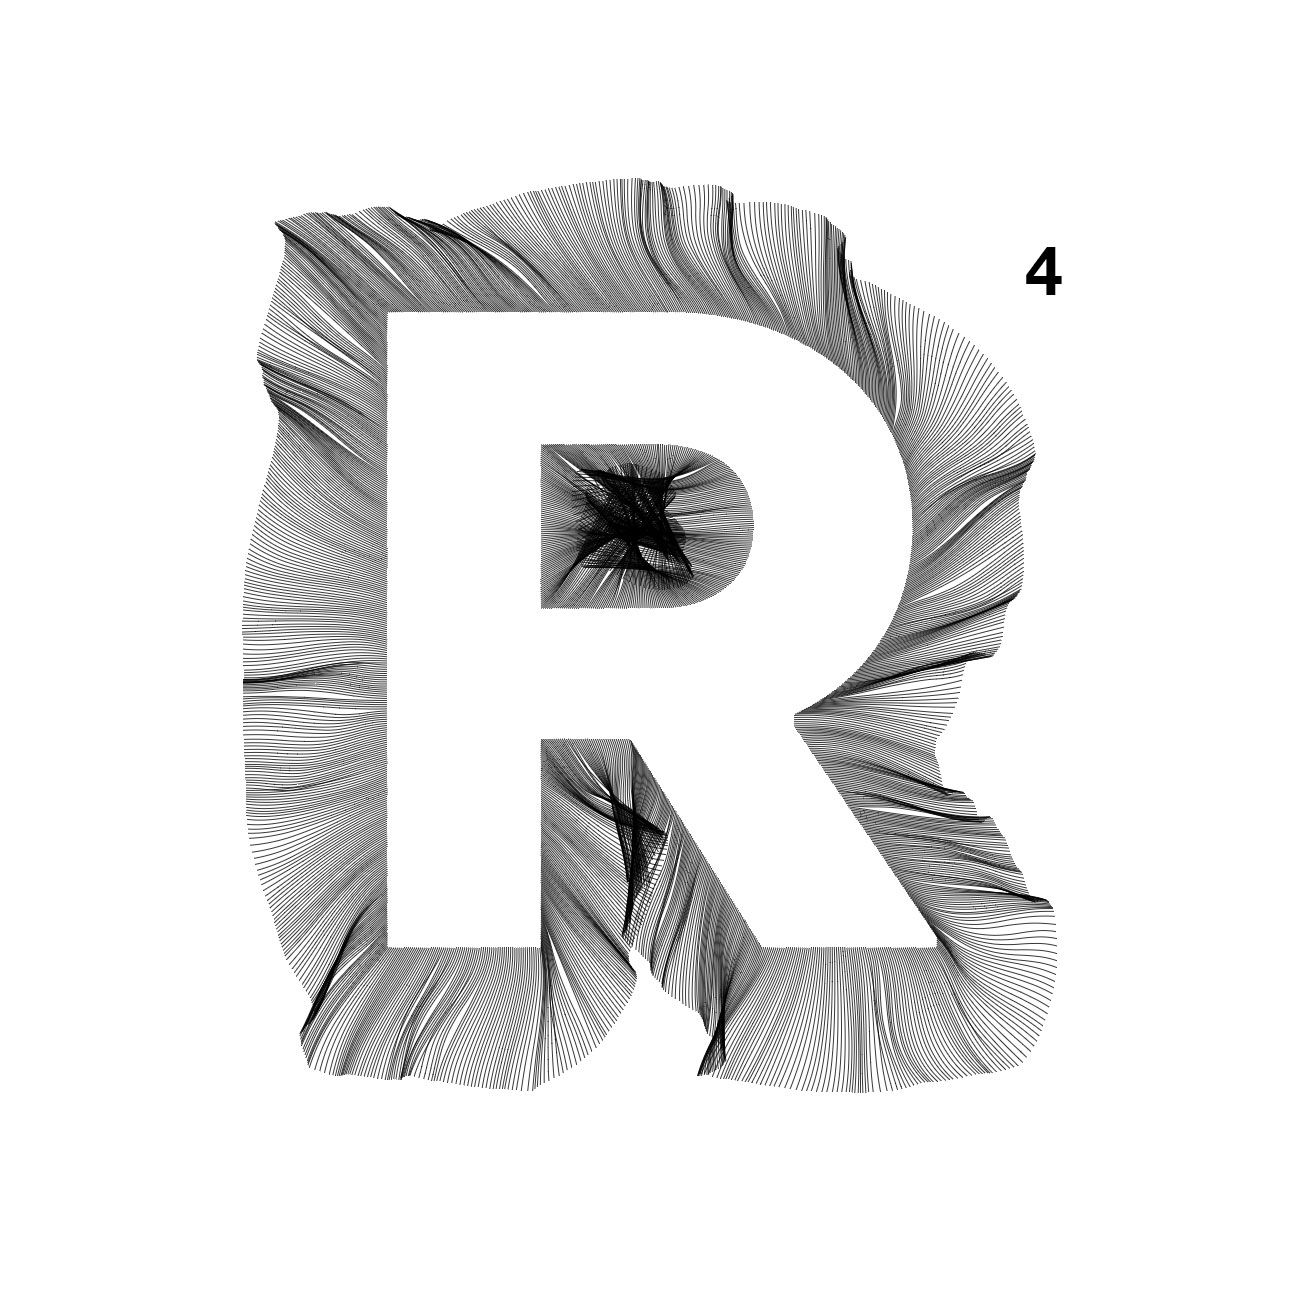
Path Points
Path points dictates how many points are used to create a line. More points means longer lines and more Perlin Noise data used to generate the lines.
Path Point Distance
Path point distance represents the distance between each path point used to draw the lines. Bigger the distance - longest the line gets. It may seem that it generates the same results as changing Path Points option, but if you’ll try to compare last 2 images, while the length is the same, Path Point Distance example looks like a stretched version of half the Path Point examples.


Path Stroke Width
Path stroke width defines how thick lines are. That may seem like not a big deal, but it may create some very nice effects, like simulating a feather.


Noise Options
While not that simple and intuitive as the Path Options, Noise Options are the core of the tool. They allow to control the direction, intensity and the feel of waves.
Noise Octaves and Fall Off
Noise Octaves and Noise Fall Off are Perlin Noise specific options. They dictate how Perlin Noise is sampled. Have a play with these options and see how the result may change.


Noise Seed and Rotation
Noise seed provides the source of randomness for the noise. But the same seed should always produce the same noise. So it’s useful to try to randomize the noise if current one doesn’t really fit the need.
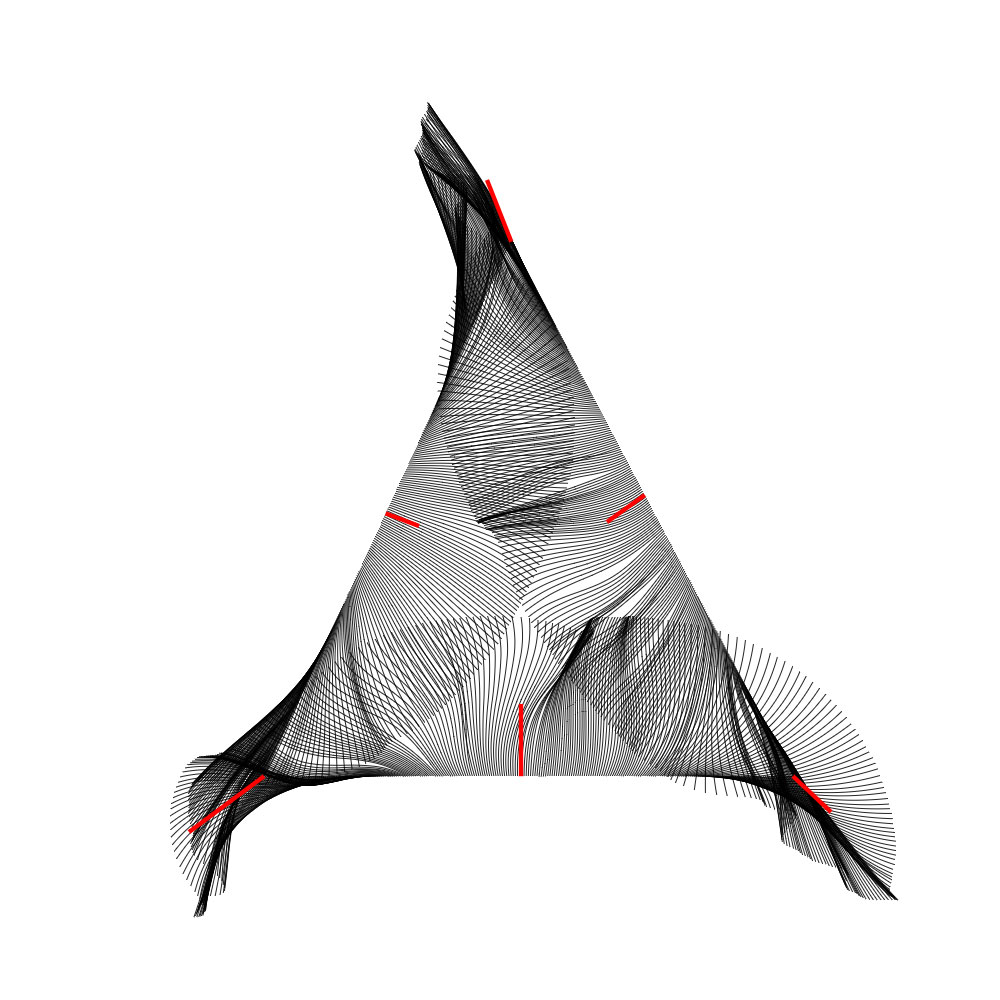
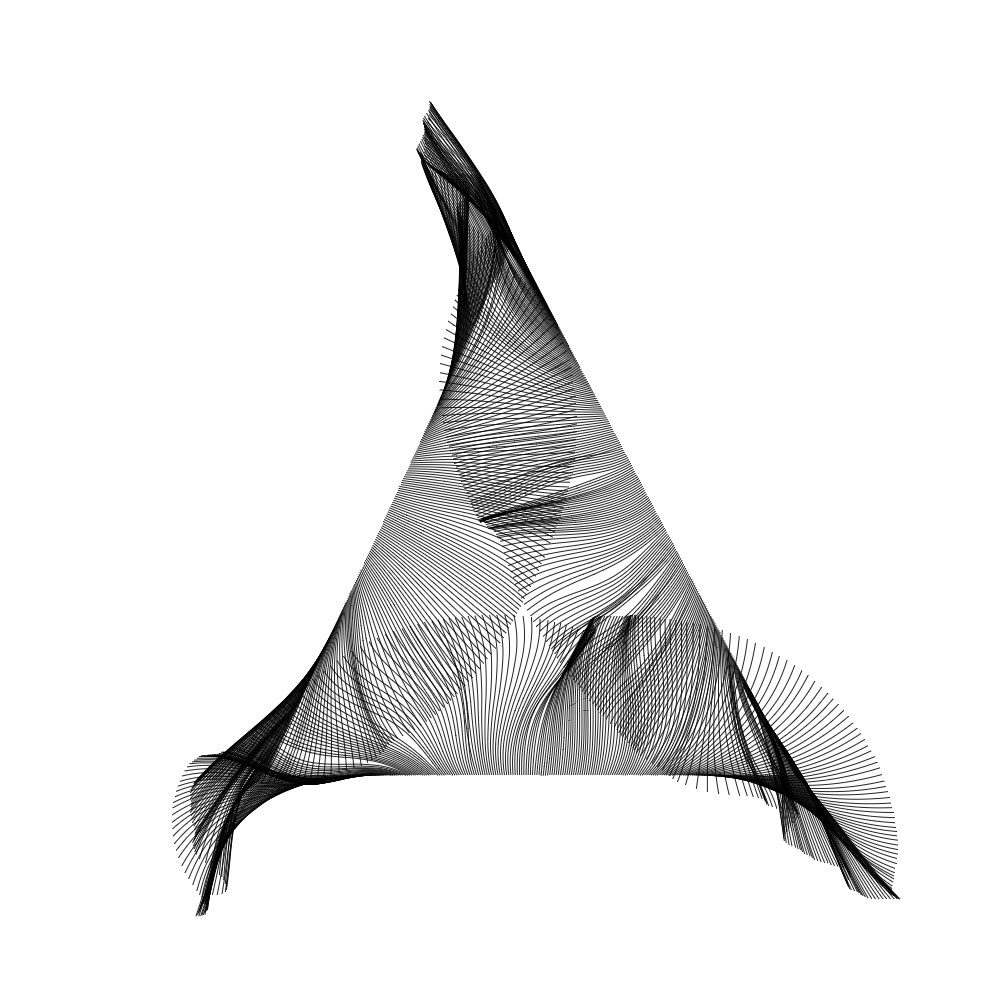
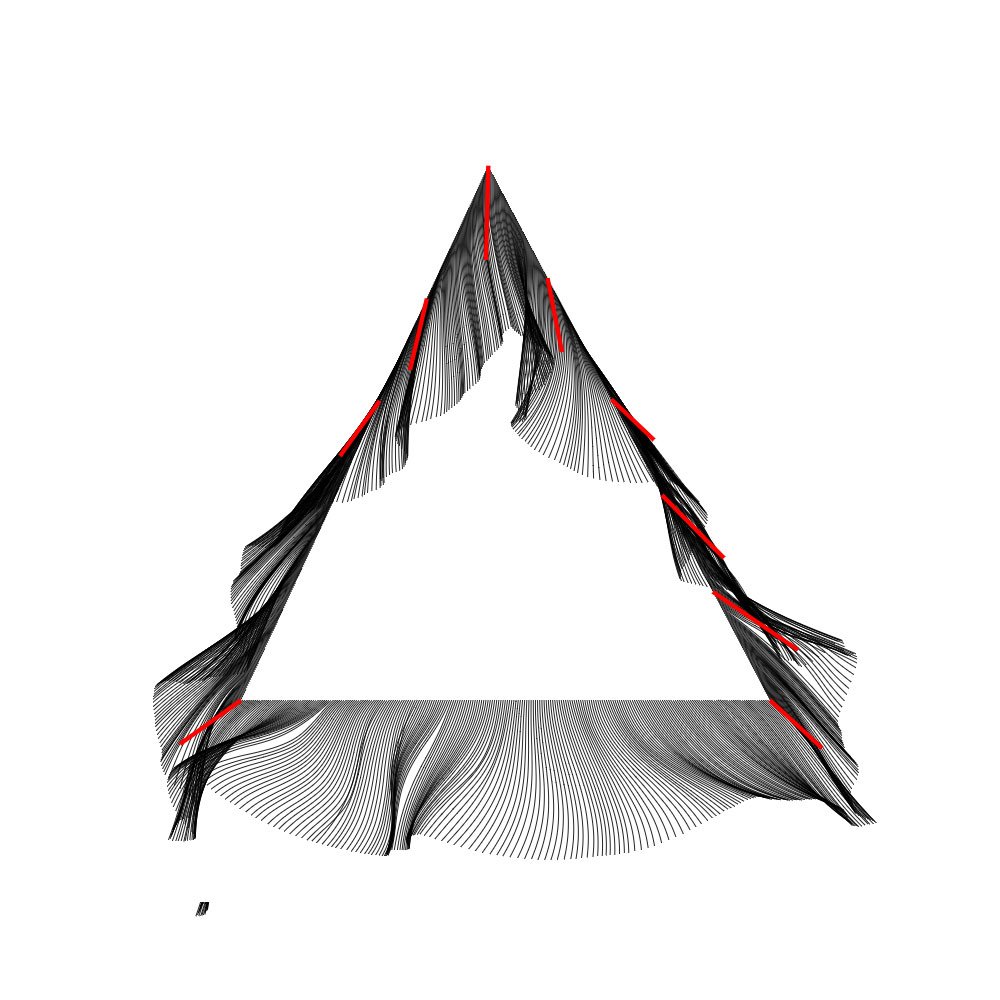
By default lines are directed in the direction of noise (which may be any direction). Noise Rotation simply rotates the noise around (a 180 degree rotation will make the lines to be facing the opposite direction). You can see rotation examples at the beginning of this post (those 3 triangles).
Because we’re using directions for lines, rotation doesn’t do much in that case, but it’s also a source of randomisation. So use it for small randomisation tweaks.
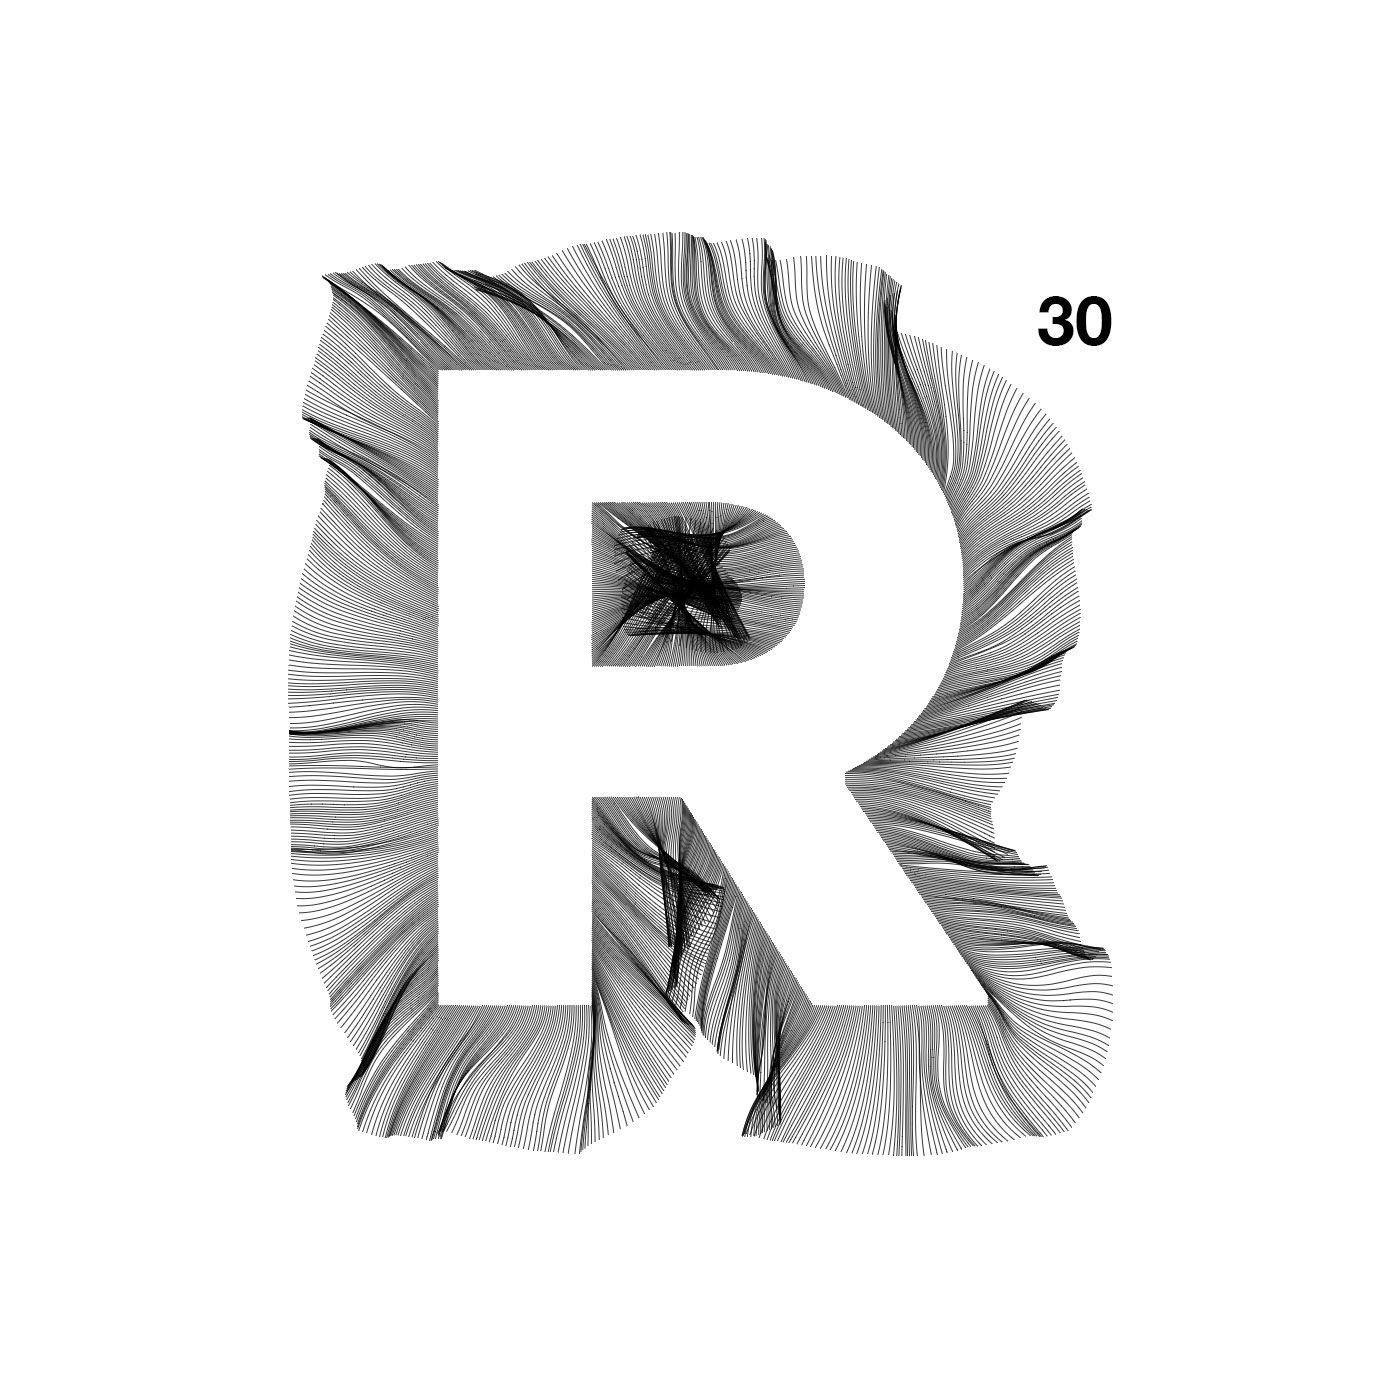
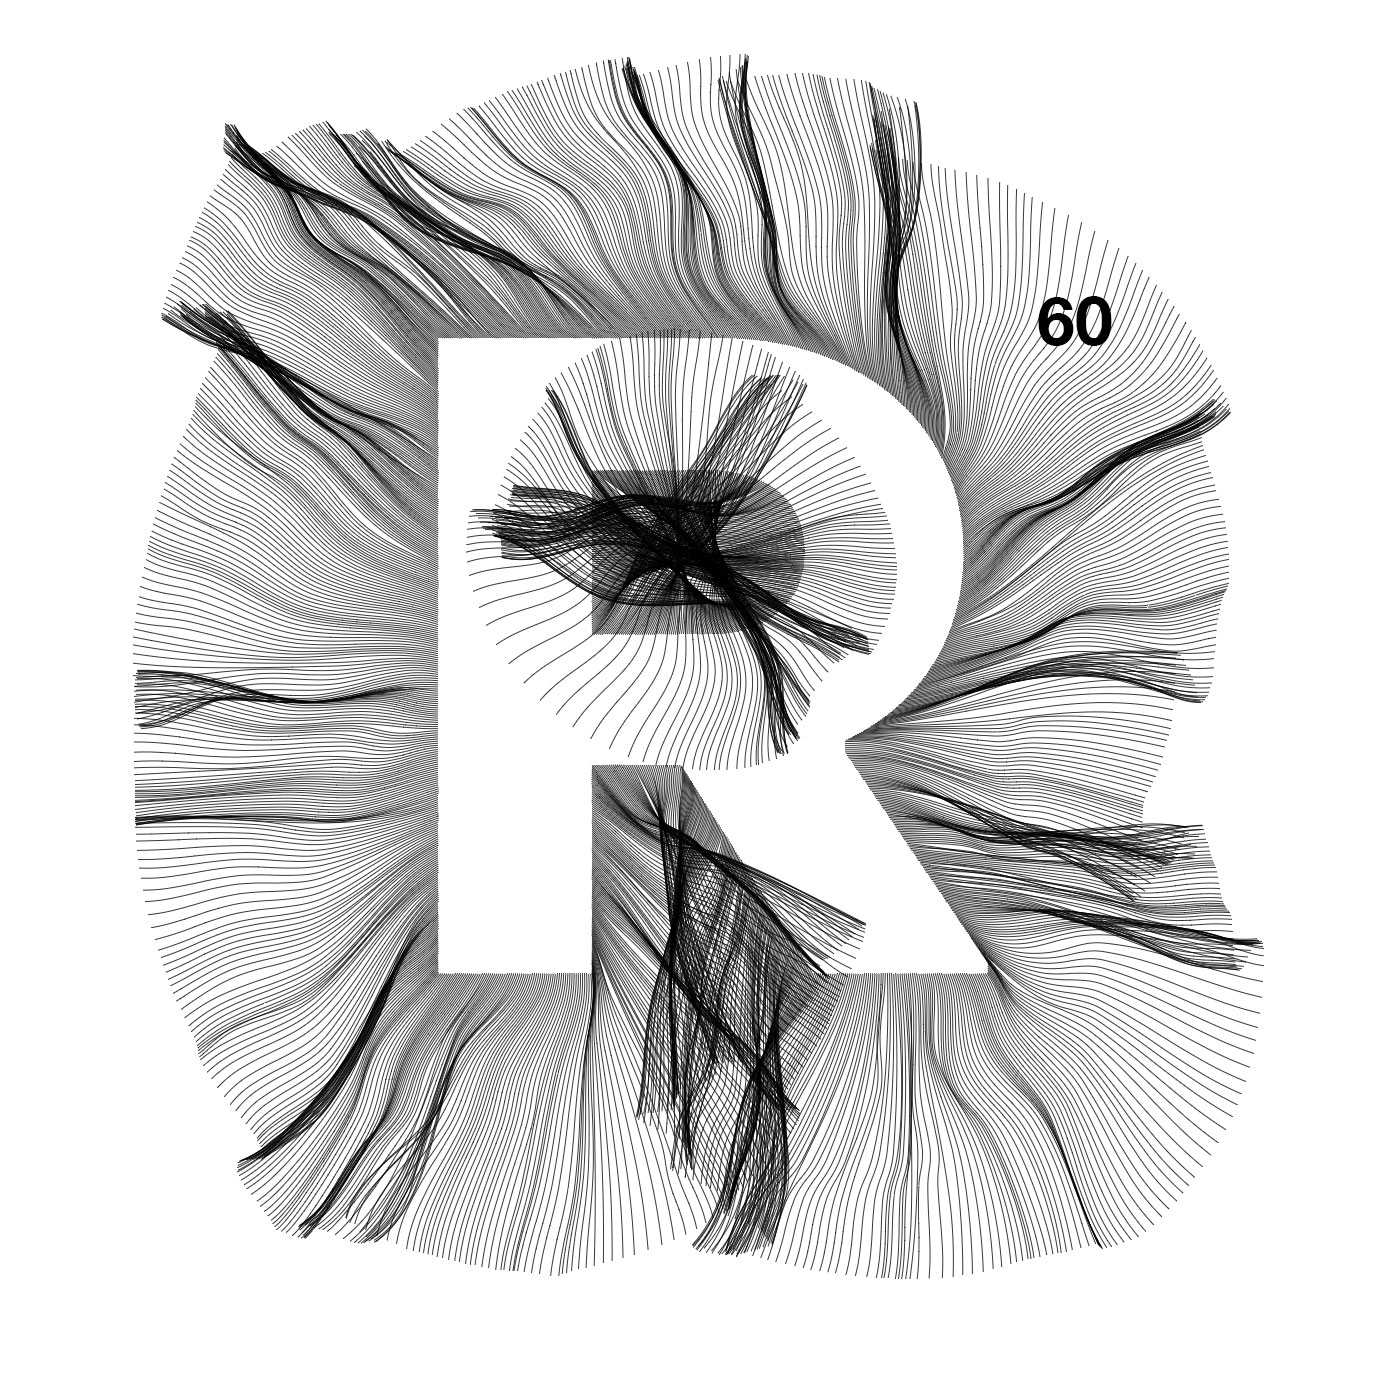
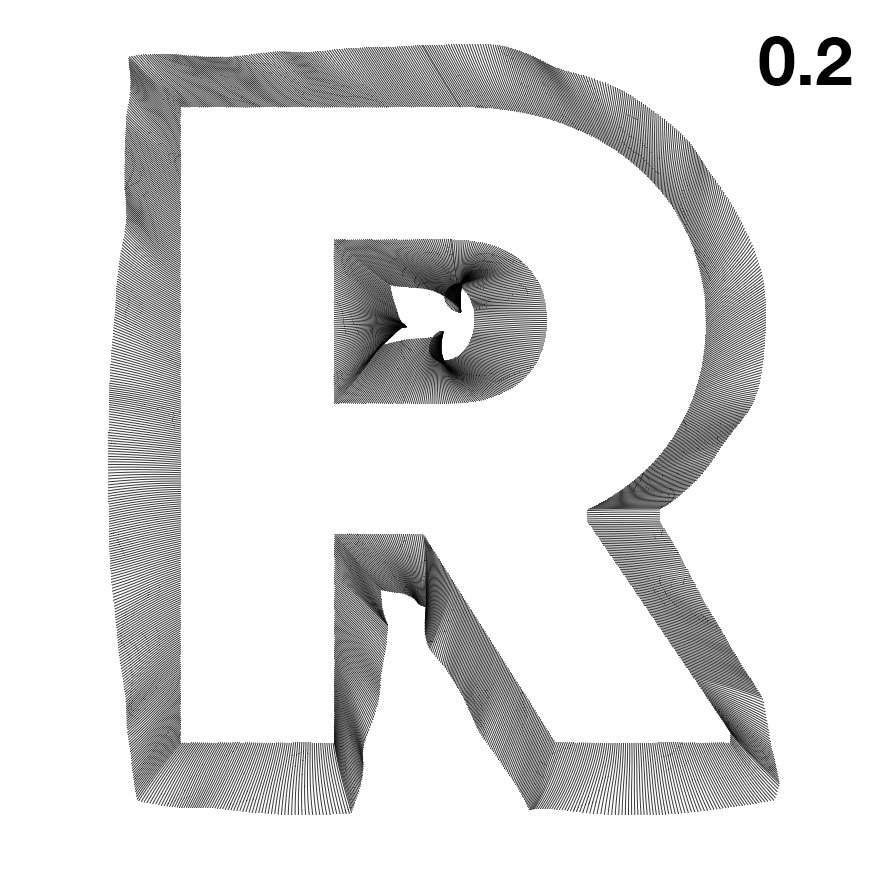
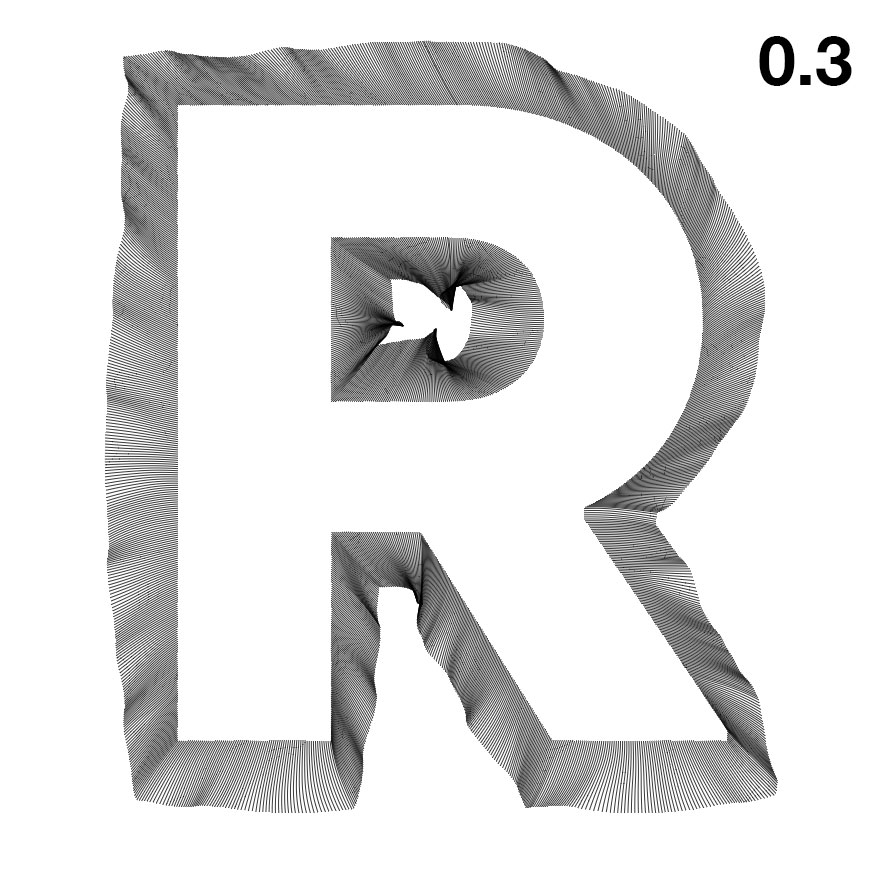
Noise Detalisation and Noise Intensity
These 2 options provide a more fine-grained control on the noise intensity.
Noise Detalisation is like zooming in into noise. More you zoom - lines get smoother. If you set the detalisation to something close to 1 - it will look like chaos. But if you set it small enough - you get smooth lines that look like waves.
Noise Intensity multiplies the noise. It may seem that these 2 options are doing the same, but in fact they complement each other.


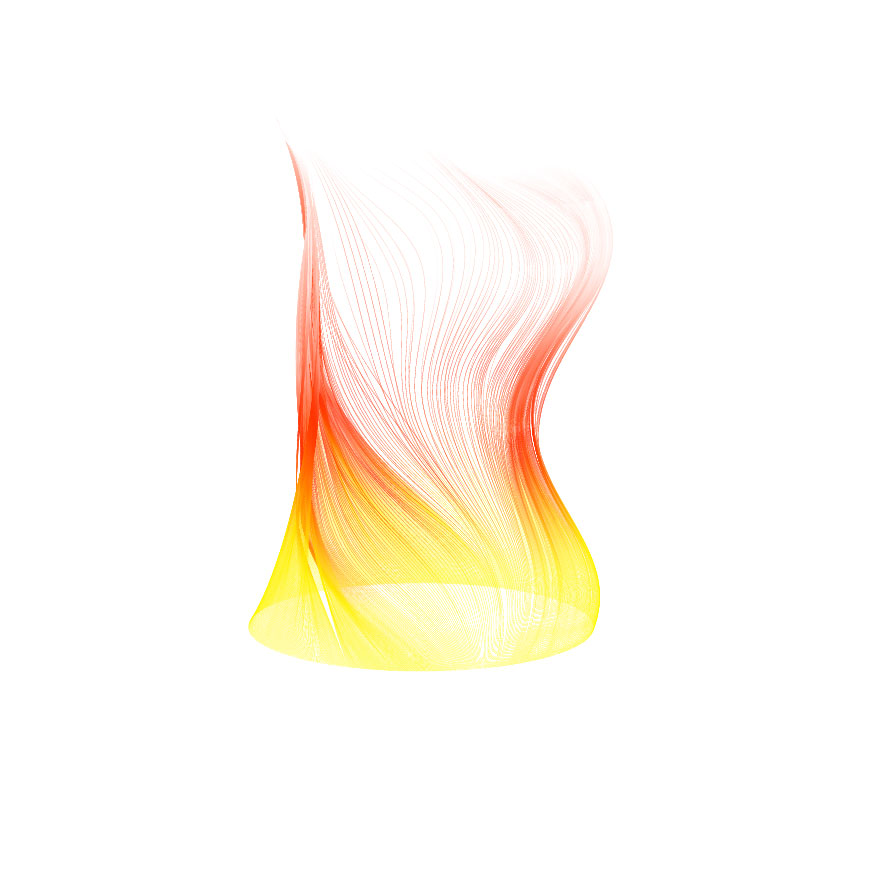
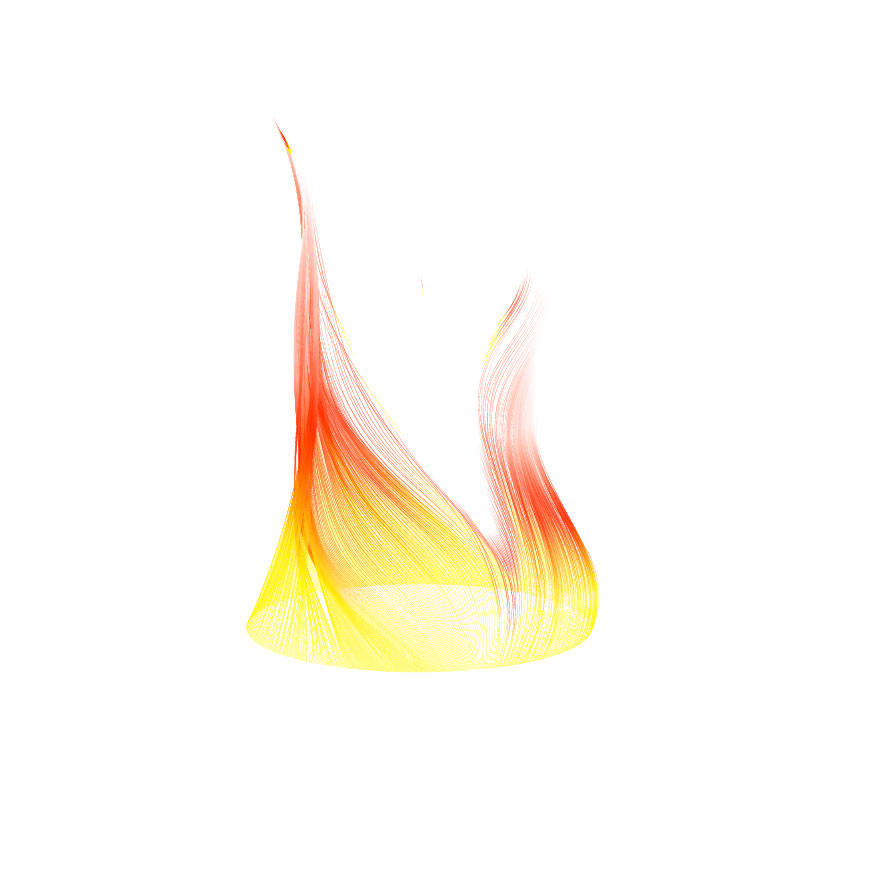
Some more examples


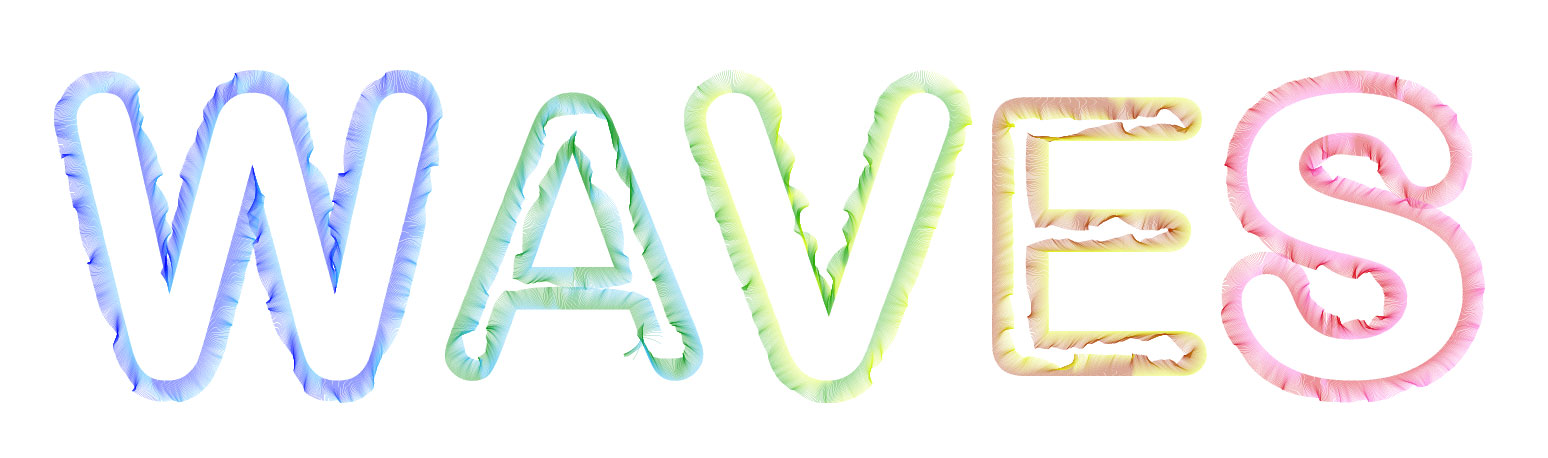
You can export resulting images as SVGs and edit them in any vectorial software (say Illustrator). Here I added a gradient to each line, then I shortened some lines:
Can I Use It?
Go to bumbu.github.io/Perlin-Noise-Perimeter and try it by yourself. You can import your own SVG file (or google for a vector icon and use that).